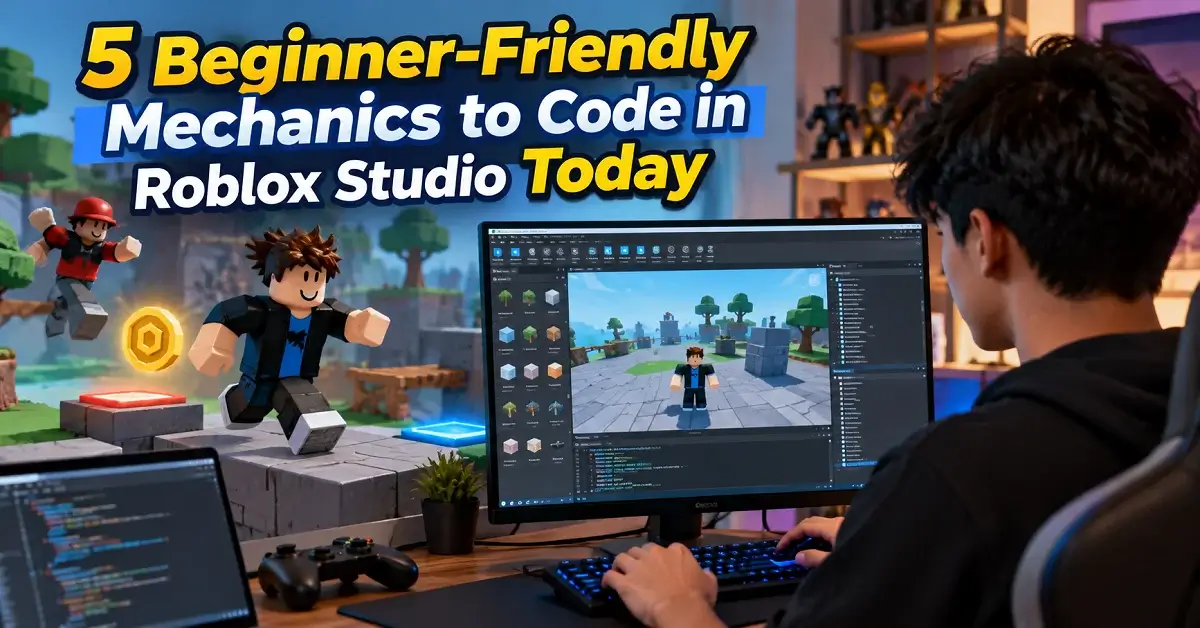
Learning Beginner Roblox Studio Mechanics gives you a practical foundation for designing obstacle courses, adventure maps, and interactive experiences. Instead of trying to master every coding concept at once, you can focus on small features, test them in Roblox Studio, and improve them as your skills grow. With consistent practice and inspiration from resources such as Robloxian Verse, you can gradually move from building basic environments to creating more engaging gameplay.
Why Learning Beginner Roblox Studio Mechanics Is Your Best Starting Point
Roblox Studio combines building tools, a scripting environment, and testing features that let you create interactive experiences. Its scripting language, Luau, powers gameplay systems such as player movement, object interactions, scoring, and environmental effects.
For new developers, learning individual mechanics is often more manageable than attempting a complete game immediately. Each feature introduces a useful development concept, including events, conditions, player data, and object properties.
Here is why these fundamentals matter:
- Build practical skills: Learn how parts, scripts, and player interactions work together.
- Create engaging gameplay: Give players clear objectives, challenges, and rewards.
- Debug with confidence: Isolate problems by testing one mechanic at a time.
- Develop reusable systems: Adapt the same mechanics for different game genres.
- Build a stronger portfolio: Demonstrate working gameplay features rather than static environments.
Whether you are creating an obstacle course or experimenting with ideas from Robloxian Verse, these fundamentals can help you build a more reliable development workflow.
5 Essential Mechanics Every New Roblox Developer Must Know
The following five mechanics are suitable starting points because each introduces a different gameplay function. You do not need to implement them all at once. Build one, test it, and move to the next when you understand how it behaves.
1. Spawning Systems and Player Checkpoints
A spawning system determines where players appear when they enter your experience or respawn after being eliminated. Checkpoints make longer obstacle courses more enjoyable by allowing players to continue from a previously reached location instead of restarting from the beginning.
In Roblox Studio, you can use SpawnLocation objects and configure their properties to manage player spawning. For custom checkpoint behavior, scripts can detect when a player touches a checkpoint and update their respawn destination.
What you should learn:
- Position spawn points at the start of your map.
- Place checkpoints after important sections of an obstacle course.
- Give checkpoints clear visual feedback when activated.
- Test whether players respawn at the correct location.
- Consider how checkpoint progress should behave when players leave and return.
Practical tip: Test checkpoints after falling from different heights and reaching them in different orders. This helps reveal unexpected respawn behavior before you publish your game.
2. Damaging Parts (Kill Bricks) and Health Systems
Kill bricks are parts that damage or eliminate a character when touched. They are common in obstacle courses because they introduce risk and encourage players to time their jumps carefully.
You can create a basic hazard by adding a Part, changing its appearance, and using a script to detect character contact. A typical implementation identifies the character’s Humanoid and applies damage or reduces its health.
Key development considerations:
- Use contrasting colors to make hazards easy to recognize.
- Decide whether a hazard causes gradual damage or instant elimination.
- Prevent repeated touch events from applying unintended damage.
- Test collisions, respawning, and interactions with different character movements.
- Consider accessibility by providing clear visual cues for dangerous areas.
Practical tip: Make the danger understandable before making it difficult. A clearly marked hazard feels fairer than an invisible part that unexpectedly eliminates players.
3. Interactive Objects: Buttons, Doors, and Triggers
Interactive objects allow players to influence the environment. A button might open a door, activate a bridge, or start a timed challenge. These interactions teach you how Roblox events connect player actions to changes in the game world.
For example, a button can respond to player input or physical contact, while a door can change position, visibility, or collision behavior. More advanced versions can include cooldowns, animations, sounds, and access requirements.
Start with these simple interactions:
- A button that opens a door.
- A trigger that activates a moving platform.
- A switch that changes the color of a room.
- A timed gate that closes after a short delay.
- A collectible that unlocks access to another area.
Practical tip: Make the result of every interaction obvious. A sound, animation, color change, or on-screen message helps players understand that their action worked.
4. Teleportation Scripts: Moving Players Across the Map
Teleportation moves a player or character from one location to another. It is useful for connecting rooms, creating shortcuts, building lobby systems, and moving players between sections of an experience.
A beginner-friendly teleportation mechanic can use two designated locations: an entry point and a destination. When a player activates the entry point, the system moves their character to the destination.
Before implementing this feature, consider:
- Keeping the destination clear of walls and obstacles.
- Ensuring the character does not become stuck after teleporting.
- Adding a brief visual or audio transition when appropriate.
- Preventing accidental repeated activation.
- Testing teleportation during multiplayer sessions.
Practical tip: Leave enough space around the destination for the character to stand safely. A working teleport can still feel broken if players arrive inside a wall or fall immediately after moving.
5. Creating a Basic Leaderboard to Track Player Scores
A leaderboard displays player statistics such as points, wins, or collected items. It introduces an important game-development concept: tracking player progress and presenting it in a recognizable format.
Roblox supports built-in player leaderboard displays through a folder named leaderstats parented to each player. Common statistics include integers for wins and points, although more advanced systems may require additional data handling.
Useful leaderboard ideas include:
- Points earned for completing obstacles.
- Wins accumulated across rounds.
- Coins collected during exploration.
- Levels completed by each player.
- Best completion times for a challenge.
Practical tip: Decide when a score should increase and test that condition carefully. If players can repeatedly trigger the same reward, your leaderboard may record unintended score gains. For persistent progress, investigate Roblox’s data storage services and appropriate server-side validation.
How to Make an Obby Game Using These Core Mechanics
An obstacle course, commonly called an obby, is a practical first project because it lets you combine movement, hazards, checkpoints, and rewards in one small experience.
Follow this beginner-friendly development plan:
- Create the environment: Open Roblox Studio, start with a suitable template, and build a simple platform course.
- Add spawn points: Give players a clear starting location and place checkpoints throughout the course.
- Introduce hazards: Add damaging parts between safe platforms to create meaningful challenges.
- Add interactions: Include a button-operated door or another simple environmental trigger.
- Connect areas: Use teleportation to link separate sections if it improves your level design.
- Track progress: Add a leaderboard to display wins or points earned by completing the course.
- Playtest the entire experience: Check for unreachable platforms, broken checkpoints, unfair hazards, and incorrect scoring.
Keep your first obby short enough to finish and test in a single development session. Once the basic version works, introduce moving platforms, timed challenges, sound effects, and additional levels.
For developers exploring Robloxian Verse ideas, this process also offers a useful way to turn a creative concept into a playable experience without starting with an overly complicated project.
The Best Roblox Studio Tutorials 2026 to Upgrade Your Skills
When choosing Roblox Studio tutorials in 2026, prioritize resources that explain concepts, demonstrate working examples, and encourage you to test the results yourself. A useful tutorial should teach you why a mechanic works, not just where to click.
| Learning resource | What you can learn | Best use |
|---|---|---|
| Roblox Creator Hub | Official Studio documentation, scripting concepts, and API references | Checking accurate technical details |
| Roblox Studio tutorials and guides | Building environments, working with parts, and using Studio tools | Learning the interface |
| Luau documentation | Variables, functions, conditions, events, and data types | Understanding scripting fundamentals |
| Roblox Studio testing tools | Playtesting, debugging, and checking multiplayer behavior | Finding gameplay issues |
| Robloxian Verse | A source of Roblox-related ideas and learning inspiration | Exploring concepts for future projects |
Start with the official Roblox Creator Hub for documentation and learning materials. Use the Luau documentation when you need to understand scripting syntax or troubleshoot a script.
When following a tutorial, verify that its instructions match the current Studio interface and APIs. Older videos may use outdated workflows or omit security practices that matter in multiplayer experiences.
Final Thoughts
You do not need to create a huge game to become a capable Roblox developer. Start with a small obstacle course, learn these five mechanics, and improve one feature at a time. Each successful test builds your understanding of scripting, player experience, and game design.
Keep experimenting, consult official documentation when you encounter unfamiliar behavior, and use ideas from Robloxian Verse and other learning resources to inspire your next project. With regular practice, you can turn your first simple map into a more engaging Roblox experience—and build the skills needed for more ambitious games.