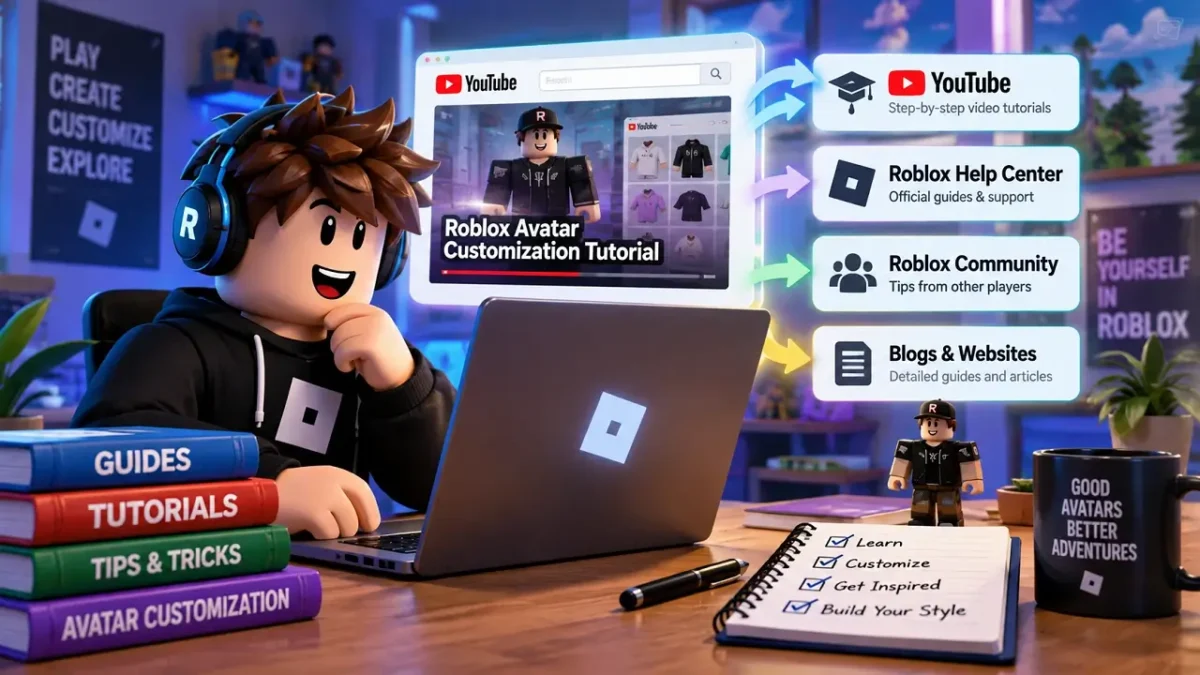
The easiest approach is to start with the Customize Robloxian Avatar Editor and then use step-by-step tutorials when you want more advanced customization. From a practical standpoint, learning one feature at a time makes it much easier to create a consistent avatar instead of randomly combining items that do not work well together.
Best Platforms to Find Roblox Customization Tutorials
You have several reliable places to learn how Roblox avatar customization works. For beginners, start with official Roblox resources before moving into creator-made tutorials.
1. Roblox Help and Creator Resources
Official Roblox documentation is useful when you need accurate information about avatar features, accessories, clothing, and creator tools.
2. YouTube Tutorials
YouTube is helpful when you want to see each customization step rather than simply read instructions. Search for tutorials covering avatar editing, layered clothing, accessories, body packages, and mobile customization.
3. Roblox Creator Communities
Creator communities can help you understand more advanced avatar-item workflows, especially if you want to design your own assets.
4. Robloxian Community Guides
Community-written guides can provide practical styling ideas, combinations, and examples that are not always covered in basic documentation.
What Does Robloxian Mean in Avatar Customization?
“Robloxian” generally refers to a character or player associated with Roblox. In avatar customization, the term is commonly used to describe your customizable Roblox character.
You can personalize your Robloxian with different combinations of:
- Clothing and layered outfits
- Hairstyles
- Faces and heads
- Accessories
- Body parts and proportions
- Colors
- Animations
The goal is not simply to add more items. A well-designed avatar usually has a recognizable theme, balanced colors, and accessories that complement the overall look.
What Is Robloxian 2.0?
Robloxian 2.0 is an older Roblox avatar body package associated with a more detailed body shape than the classic block-style character.
If you are following an older customization tutorial, check which avatar body or package it uses. Modern Roblox avatar customization offers considerably more flexibility, so an older tutorial may not represent the options currently available to you.
How to Customize Your Roblox Avatar for Free?
You do not necessarily need Robux to create a distinctive avatar. Start by checking the free items available through the Avatar Editor.
Try this simple process:
- Open the Avatar Editor.
- Browse free clothing, accessories, and body options.
- Choose a basic color or visual theme.
- Combine a few complementary items.
- Preview your avatar from different angles.
- Save your final combination.
Expert tip: Start with one main style—such as casual, futuristic, fantasy, or sporty—and build around it. This usually produces a cleaner result than adding every interesting item you find.
How to Use the Advanced Avatar Editor on Mobile?
On mobile, open Roblox and navigate to your avatar customization area. Depending on the current Roblox app interface and account features, available editing controls can vary.
For more precise customization:
- Browse individual avatar categories.
- Preview each item before applying it.
- Remove conflicting accessories.
- Check your avatar from multiple views.
- Save changes after achieving the desired look.
If a tutorial shows controls that you cannot find, check whether the creator is demonstrating a different Roblox app version or device interface.
How to Change Avatar in Roblox Mobile?
Changing your avatar on mobile is straightforward:
- Open the Roblox mobile app.
- Go to your Avatar or customization section.
- Select the category you want to change.
- Choose another item or body option.
- Preview the updated character.
- Apply or save the changes.
This lets you quickly switch between different outfits and character styles.
How to Make Your Own Avatar Items in Roblox and Sell Them?
If you want to move beyond customization and become a creator, Roblox provides creator-focused tools and publishing systems for eligible users.
You can learn about creating avatar-related items, understand Roblox’s current requirements, and review marketplace policies before attempting to sell anything.
Before publishing, focus on:
- Original designs
- Appropriate dimensions and technical requirements
- Clean textures and modeling
- Roblox marketplace policies
- Current creator eligibility requirements
Because creator requirements can change, always verify the latest official rules before investing significant time in an item.
How Do You Play After Customizing Your Robloxian Avatar?
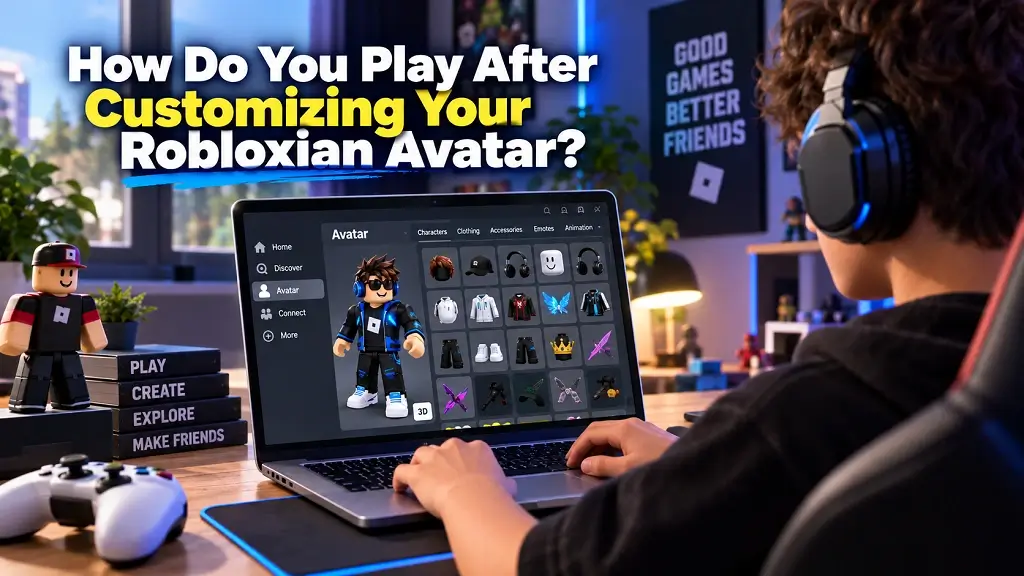
Once your avatar looks right, simply enter any Roblox experience you want to play. Your customized character can appear across supported experiences, although individual games can apply their own avatar or character systems.
Before joining a game, check how your avatar will be used. Some experiences support extensive avatar appearance, while others replace your character with a game-specific model.
7 Expert Tips to Customize Robloxian Avatars Better
Use these practical tips to make your avatar look more polished:
- Choose a theme before adding items.
- Limit competing accessories so the avatar does not look cluttered.
- Coordinate colors across clothing and accessories.
- Test hairstyles with different faces before deciding.
- Check body proportions for a balanced silhouette.
- Use animations strategically to reinforce your character’s personality.
- Preview everything together before finalizing the outfit.
Final Thoughts
Learning to customize Robloxian avatars becomes much easier when you combine official Roblox guidance with visual tutorials and creator knowledge. Start with free customization options, experiment with different body and clothing combinations, and gradually explore advanced avatar creation if you want to design your own items.
The best avatar is not necessarily the most complicated one—it is the one that clearly represents the style you want to create.